
10 Smart Home Gardening Fertilizer Tips
Nourishing Your Indoor Garden with the Proper Nutrients
Indoor gardening is quite different from outdoor gardening. Your indoor plants rely on you entirely for all of the water and nutrients they need to survive.
Sunlight and water are, of course, crucial, but fertilizer provides your plants an added boost to grow strong and healthy. Without the right nutrients, even the most beautiful houseplant can grow weak and pale.
A lot of folks think feeding is hard, but it isn’t really. The reality is it’s actually pretty easy once you get the basics down.
This post will tell you exactly how to feed your indoor garden like a pro. You’ll find out when to fertilize, what’s safe to apply and how not to make mistakes that kill plants.
Let’s dig in.
1. Know What NPK Actually Means
Each fertilizer bottle has three numbers. Something like 10-10-10 or 5-10-5.
These numbers aren’t random. They report the specific nutrients inside.
The number at the first position is nitrogen. This is what helps plants grow green leaves and sturdy stems.
The next number is phosphorus (P). To build strong roots and promote blooms.
The third is potassium (K). That’s what keeps the entire plant healthy and diseases at bay.
Various plants require varying amounts of these nutrients. Nitrogen is leafy plants’ best friend, and pothos are suckers for it. Orchids and other flowering plants require more phosphorus.
Choosing the Right NPK Ratio
Here’s a simple breakdown:
| Plant Type | Best NPK Ratio | Why |
|---|---|---|
| Leafy greens | 3-1-2 or more nitrogen | Lush foliage |
| Flowering plants | 1-3-1 or more phosphorus | Blooms |
| Herbs | 5-5-5 balanced | Overall health |
| Succulents | 2-7-7 low nitrogen | Prevents stretching |
| Vegetables | 5-10-10 | Increased fruit production |
Before purchasing fertilizer, check what your plant craves. The wrong proportion isn’t going to kill your plant today, but it won’t help encourage its health in the future either.
2. When It Comes to Indoor Plants, Less Is Always More
The No. 1 mistake beginners make is over-fertilizing.
It’s not more fertilizer equals better plants. It usually means dead plants.
Excess fertilizer burns the roots. Brown tips on leaves, white crust on soil, or wilting when the soil is wet.
For outdoor gardens, follow the instructions on the bottle of most fertilizers. Indoor plants need way less.
The Half-Strength Rule
Halve the recommended dose for houseplants. If the bottle lists one tablespoon per gallon, use half a tablespoon instead.
Your plants will thank you.
Feed less often too. The vast majority of houseplants require fertilization once a month throughout their growing season, which is (for most) spring and summer. In the fall and winter, reduce to every two months or discontinue.
Consider fertilizer as you would vitamins for humans. A little helps. Too much causes problems.
3. Water Before You Fertilize
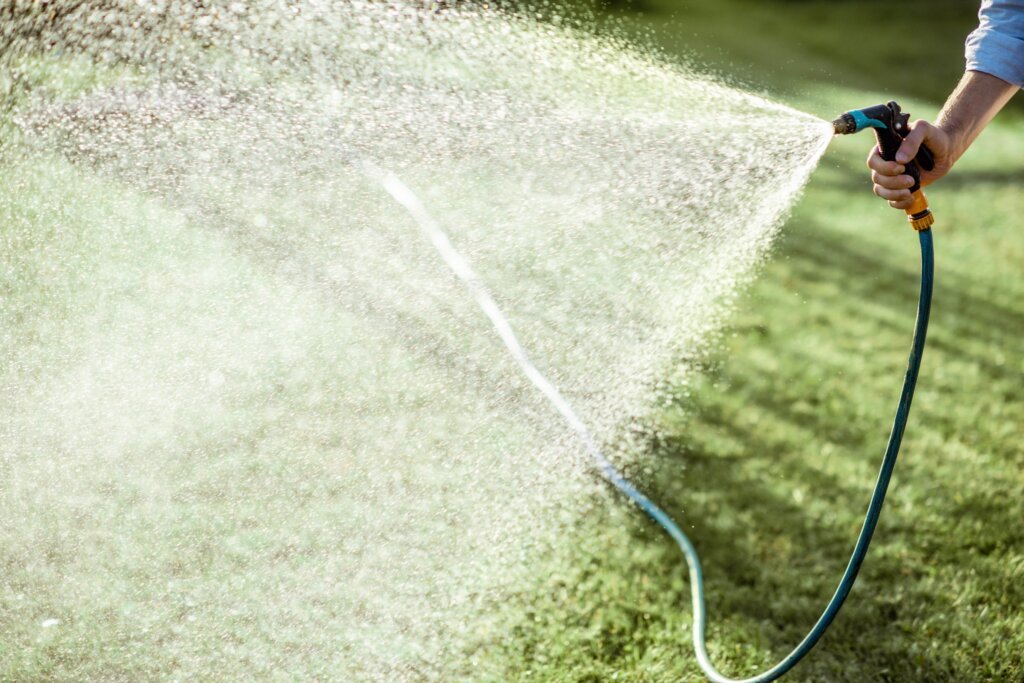
Do not add fertilizer to dry soil.
It’s a golden rule that saves plants from chemical burns.
Dry roots are sensitive. When fertilizer comes into direct contact with them, they are damaged. The roots are unable to take up nutrients properly, and they may even die.
Always water your plant first. Wait about 30 minutes. Then apply diluted fertilizer.
The damp soil helps to spread the nutrients more evenly. It further guards sensitive root systems from shock.
Quick Fertilizing Schedule
- Check for soil dryness (insert finger 2 inches in)
- Water it well until water flows out from the bottom
- Wait 30 minutes
- Apply half-strength fertilizer solution
- Lightly water again to allow those nutrients to seep in
This technique will work with almost any houseplant.
4. Choose Between Liquid and Slow Release
Fertilizers come in different forms. Each has pros and cons.
Liquid fertilizers work fast. You dissolve them in water and pour them over soil. And they are a good choice for when you only want to feed once a month.
Slow-release pellets resemble small beads. You sprinkle them on soil. The nutrients are slowly released over three to six months.
Organic choices such as compost tea or worm castings feed plants gently. They’re safer but work slower.
Comparing Fertilizer Types
| Type | How Often | Strong Points | Weaknesses |
|---|---|---|---|
| Liquid | Every 2-4 weeks | Quick results, easy to apply | Needs frequent mixing |
| Slow-release | Every 3-6 months | Set and forget feeding | Can’t adjust quickly |
| Organic | Monthly | Safe, feeds the soil | Slower results, mild smell |
| Granular | Every 6-8 weeks | Economical, lasts | Must not overapply or can burn |
The easiest for beginners is liquid fertilizer. You get to decide how much and when you want to feed.
Experienced gardeners often combine methods. They supplement with slow-release pellets and add liquid feeds when plants are in full growth.
5. Feed to Match Your Plant’s Growth Cycle
Plants do not grow the same speed all year long.
In general, most houseplants are actively growing during spring and summer when they have longer days and warmer temperatures. This is the time when they require regular feeding.
Growth slows or stops completely in autumn and winter. Plants go into a resting, or dormant, period.
Fertilizing dormant plants is equivalent to making someone eat when they’re not hungry. It stresses them out.
Seasonal Feeding Guide
Spring (March–May): Begin feeding every 2 to 3 weeks as new growth emerges.
Summer (June-August): Continue regular feeding. This is peak growing season.
Fall (September to November): Decrease feeding frequency to once per month as growth slows.
Winter (December-February): Discontinue fertilizing for most plants or give feeds a drastic decrease to one very light feed every 6-8 weeks.
Watch your plant for signs. New growth, extended stems, and flower buds are a sign it’s actively growing and hungry.
Yellow leaves, no new growth and slower development tell when to back off.
6. Test Your Soil Once a Year

Soil changes over time.
Fertilizer salts build up. pH levels shift. Nutrient balance gets weird.
Soil testing every year will keep you informed. You’ll be able to tell exactly what your plants want rather than guessing.
Simple soil test kits are cheap, available for less than $15 online. They record pH, and they measure the major nutrients.
How to Test Your Soil
- The soil should be collected 2-3 inches below the surface
- Let it dry for a day
- Follow the kit instructions (usually mixing with water)
- Compare the results with the color chart
- Tailor your fertilizing to what you’re missing
Most houseplants enjoy slightly acidic conditions (pH 6.0-7.0). If the soil is too acidic or too alkaline, nutrients will be tied up even if they are there.
You can change the pH by adding lime (to raise it) or sulfur (to lower it). But switching the type of fertilizer you use is often just as effective.
7. Flush the Soil Every Several Months
Salt buildup is sneaky.
Even if you fertilize correctly, over time salt accumulates in the soil. You’ll notice white or crusty buildup on the soil surface or around drainage holes.
These salts interfere with water uptake and injure roots.
Flushing removes them.
The Flushing Process
Once every 3-4 months, bring your plant to the sink or shower.
Flush the pot with room-temperature water for 5 to 10 minutes. Leave it to drain out from the holes on bottom.
This flushes out accumulated salts and resets the soil.
After flushing, allow a week to pass before fertilizing again. Let the roots recover.
It’s an easy safeguard to avoid nutrient lockout and keep your plants healthy.
8. Opt for an Organic Solution for Edible Plants
If you are growing herbs or lettuce indoors or tomatoes on your windowsill, go organic.
If you are growing ornamental plants, chemical fertilizers will do. But food crops take up what you give them.
Organic fertilizers are derived from naturally occurring sources. Consider fish emulsion, seaweed extract or composted manure.
They are safer for plants you intend to eat. They also build soil structure in the long run.
Best Organic Fertilizers for Edibles
Fish emulsion: Works well with nitrogen and leafy greens. Smells bad but works amazing.
Seaweed extract: Packed with micronutrients. Helps plants handle stress.
Worm castings: Gentle and balanced. Ideal for seedlings and young plants.
Compost tea: Nourishes plants and good soil microbes. You can make it at home.
Add these to your normal watering schedule. They generally also work as foliar sprays (spray directly onto leaves).
Organic fertilizers release nutrients slowly. You’re not going to see a miracle overnight, but in the long run your plants will be healthier.
9. Watch Your Plant’s Signals
Plants communicate with you via their leaves.
Lower yellow leaves can be a sign of nitrogen shortage. Add more nitrogen-rich fertilizer.
Purple or red stems may be an indication of phosphorus deficiency. Switch to a bloom formula.
Brown leaf tips are indicative of fertilizer burn or salt buildup. Soil should be watered deeply—flush it and feed less.
Pale, slow-growing plants require more nutrients.
Common Deficiency Symptoms
| Symptom | Probable Cause | Solution |
|---|---|---|
| Old leaves yellowing first | Not enough nitrogen | Feed more often |
| Purple stems or leaves | Phosphorus deficiency | Use bloom formula |
| Yellow leaves with green veins | Iron deficiency | Slightly lower soil pH |
| Brown edges of leaf | Potassium deficiency or burn | Check amount of fertilizer |
| Stunted growth | Overall nutrient shortage | Fertilize more frequently |
Reading these clues takes practice. But once you find the key, you will know precisely what your plants are asking for.
Keep a simple journal. Make notes about when you fertilize and the effects you notice. Patterns will emerge.
10. Consider Smart Tools and Apps
There’s never been a better time to be an at-home gardener, and technology has made it easier than ever.
Smart plant sensors are poked in your soil. They track moisture, light, temperature and nutrients. They send data directly to your phone.
This equipment removes the guesswork from fertilizing. They literally say when a plant is hungry.
Popular options include:
Xiaomi Mi Flora: Monitors four essential metrics, synchronized with app
PARROT Flower Power: Wireless sensor. Measures sunlight, moisture, fertilizer. Solar powered. Works with 7000+ plants.
Netro Whisperer: Specializes in outdoor plants but is good with large indoor pots
Gardening apps can also help. Apps such as Planta or PictureThis help you identify your plants and build personalized care schedules. For more guidance on getting started with indoor gardening, check out Home Gardening Beginners for comprehensive tips and resources.
Tech doesn’t have to be expensive to be effective. But if you’re a gadget lover, these tools offer helpful data and reminders.
Common Fertilizing Mistakes to Avoid
It happens even to the best of gardeners: We screw up. Here are the most common missteps and how to avoid them.
Feeding houseplants with outdoor fertilizer: Outdoor formulas are too intense. Use only diluted products or those labeled for indoor use.
Fertilizing sick plants: Plants that are weak or show signs of sickness aren’t capable of taking up nutrients. Only when the health problems are fixed do you start feeding again.
Disregarding water quality: Your tap water may contain high amounts of chlorine or fluoride which will block your plant from absorbing the nutrients. Allow to sit overnight before using, or use filtered water.
Fertilizing newly repotted plants: New potting soil comes with nutrients. Feeding of transplanted plants should be done 4-6 weeks after transplanting.
Fertilizing dry soil: We already talked about this (and don’t mean to be redundant). Always water first.
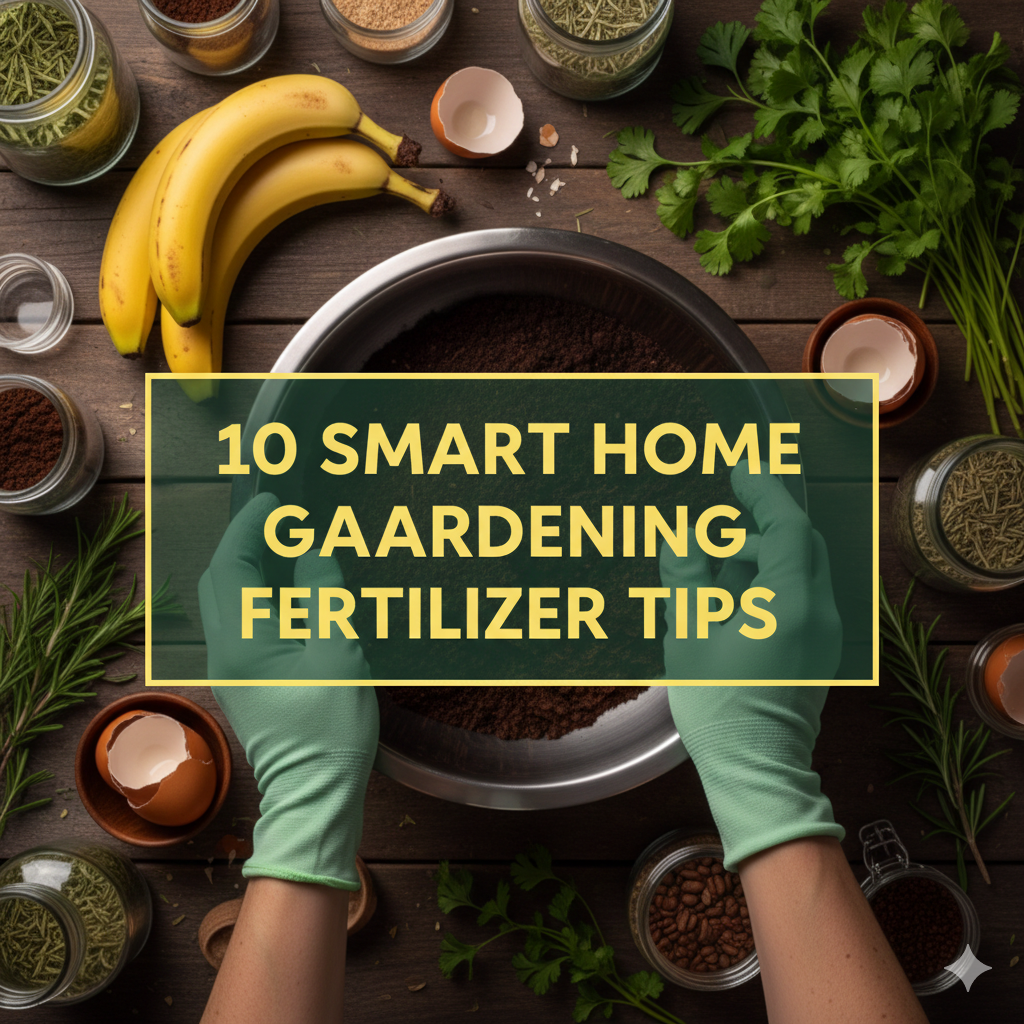
Making Fertilizer on Your Own at Home
Store-bought fertilizers work great. But it’s cheaper and surprisingly simple to make your own.
Banana Peel Tea
Banana skins are a good source of potassium.
Cut 2 to 3 peels into pieces and let soak in jar of water for about 2-3 days. Strain out the peels. Water the fluid down in a ratio of 1:5.
For flowering plants, this tea should be applied once a month.
Coffee Ground Compost
Used coffee grounds are a source of nitrogen.
Mix them directly into potting soil (10-15% of your medium). Or soak grounds in water overnight and apply as a liquid fertilizer.
Don’t overdo it though. Too much makes the soil too acidic.
Eggshell Powder
Grind dried eggshells into a fine powder. Sprinkle about a teaspoon at the base of each plant.
Eggshells are easily broken down in the garden and add calcium to soil, improving cell wall formation and preventing blossom end rot in vegetables.
Homemade fertilizers aren’t going to replace commercial products entirely. But they’re good add-ons to cut waste and save money.
How to Set Up an Effective Fertilizing Schedule
Consistency matters more than perfection.
Make a basic calendar or use phone reminders. Note when each plant should be fed.
Group plants by like needs. Water and fertilize the same day. This won’t waste time and you won’t forget.
Sample Monthly Schedule
Week 1: Feed flowering plants with bloom formula
Week 2: Feed leafy plants with nitrogen-based fertilizer
Week 3: Fertilize herbs and vegetables with a well-rounded organic product
Week 4: Water only
Adjust the schedule for your plants and seasons.
Some people use a 1/4 strength fertilizer with every watering. This “constant feed” method will do great for heavy feeders like tomatoes.
Others recommend monthly half strength feedings. Both approaches work. Pick what fits your routine.
Smart Home Gardening Fertilizing FAQs
Q: Can I use the same fertilizer on all my houseplants?
A: For most plants, we recommend a balanced 10-10-10 or 5-5-5 fertilizer. But flowering plants, succulents and edibles do even better with a specific formulation.
Q: How do I tell if I’m over-fertilizing?
A: Keep an eye out for brown leaf tips, white crusty soil surface, wilting despite the soil being moist, or leaves that may fall unexpectedly. These are fairly typical of fertilizer burn.
Q: Do I need to fertilize in winter?
A: Most houseplants go dormant in the winter and don’t require much—or any—fertilizer. Feed less often, once every 6-8 weeks or not at all until spring.
Q: Is organic fertilizer any better than synthetic?
A: Organic fertilizers are less harmful for edible plants and enhance soil life in the long run. Synthetic fertilizers, on the other hand, act more quickly and cost less. Both have their place.
Q: Can I create my own fertilizer at home?
A: Yes! Banana peel tea, coffee grounds and eggshell powder will all add nutrients. As supplements, they work well; just don’t rely on them to the exclusion of all commercial fertilizers.
Q: What is the best fertilizer for beginners?
A: Begin with a balanced liquid fertilizer (10-10-10 or 20-20-20) and dilute it to half strength. It’s simple to use and suitable for many of the standard houseplants.
Q: If I don’t use it all up, how long does the fertilizer last in the bottle?
A: Liquid fertilizer can last up to 2-3 years when kept in the right conditions. Dry fertilizers last even longer (5-8 years sometimes). Store them in airtight containers in dry places.
Q: Can I feed with fertilizer sticks or spikes?
A: Fertilizer spikes do the job, but they let nutrients go at different rates. Roots can become scorched if they are situated too near. Liquid and slow-release granules are the safer alternatives.
Conclusion on Feeding Indoor Plants
Fertilizing needn’t be rocket science or intimidating.
Start simple. Feed once a month during the growing season with a balanced liquid fertilizer at half strength.
Watch your plants closely. They’ll tell you what they need.
Adapt your strategy to what works. Each house has its own light and temperature and humidity. Adjust your fertilizing schedule for these conditions.
Consistency is the key, most importantly. Frequent, light feedings will beat heavy doses every time.
Keep learning and experimenting. Gardening is as much craft as science. What’s good for one person may not be 100% great for another.
But with these 10 smart fertilizing tips, you’re already miles ahead of the average indoor gardener. For more in-depth guidance on soil health and plant nutrition, the University of Maryland Extension offers excellent resources on nutrient management principles.
The result is that your plants will thrive better, look greener and healthier. You will start to notice a difference in just a few weeks.
Happy growing!